 |
| Happy New Year from Kitchen Delights - back again in 2013 The shot glasses are filled with buttery apple puree, a thin layer of mincemeat, topped with mascarpone and a scattering of gold dragees. |
Monday, December 31, 2012
Happy New Year From Kitchen Delights!
The Travel Photographer 2012 Most Popular Post
And the most popular post of 2012 on The Travel Photographer's blog is:
POV: Fuji X1-Pro1: Is It A Threat To Leica? in which I replied that the answer might well be a qualified yes. I also predicted (wrongly so far) that Leica would come up with a mirrorless iteration at some point soon.
Saturday, December 29, 2012
POV | Ersatz Wet Plate?
 |
| Photo © Tewfic El-Sawy-All Rights Reserved |
Ersatz means "substituting for, and typically inferior in quality to", e.g. "chicory is ersatz coffee". (Wikipedia)I mentioned it here on this blog, but I've experienced a sort of love epiphany (or is it epiphanic love?) with Hipstamatic's new Tintype SnapPack...which consists of a Tinto 1884 Lens, a D-Type Plate Film and a C-Type Plate Film. It's not for everyone or for every subject, but when the ingredients of a scene click together, it works well.
And I recently stumbled on this short video (at the end of this post) of Ian Ruhter modifying a Holga to shoot 19th century style photographs based on the wet plate process. It's a fun project, and it doesn't seem too difficult...although I'm sure there a steep learning curve attached to it, but the more one practices it, the easier it gets.
Having also received an email from a company called PostalPix asking whether I'd be interested in having some of my iPhone photographs fused on thin aluminum sheets of varying sizes, I think I might be able to duplicate the wet plate look by sending a few images I snapped using Hipstamatic Tintype filter, and have them infused on metal sheets.
I know...I can sense the purists' hackles rising at this blasphemous idea, but it sounds like fun, and it's only ersatz 'wet-plate'. As Ian Ruhter himself says; "To live by rules that were created by others we may never find out who we really are."
And to endear myself to whoever is interested in wet-plate photography, here's Wet Plate Collodion Day website, which has galleries by dozens of photographers who work in this medium...as well as a list of resources. Ian Ruhter's Vimeo page also has a list of resources...where to buy, etc.
I will keep my readers posted once I hear from PostalPix.
Lights, Toy Camera, Action from Ian Ruhter : Alchemist on Vimeo.
Friday, December 28, 2012
Aga Luczakowska I Female Islambul
 |
| Photo © Aga Luczakowska-All Rights Reserved |
Overnight, all the women in Turkey discarded theirs.
I thought this apocryphal story is a great introduction to Aga Luczakowska's Female Islambul, a collection of monochrome street photographs which depict the current resurgence of veils in Turkish society. She also features Istanbul Girls, a gallery of color photographs of modern unveiled young women in Istanbul night clubs.
Aga Luczakowska started her career as a staff photographer for the Polish daily newspaper "Dziennik Zachodni Polska The Times". In 2007, she traveled to Istanbul where she photographed for two years.Subsequently, she studied in Italy with NOOR Agency founder Stanley Greene, then continued to Romania to pursue various photographic projects in Romania.
Her work appeared in various newspapers such as The Wall Street Journal, The Moscow Times, Dziennik Zachodni, National Geographic Magazine (International) and more Polish newspapers and magazines.
Thursday, December 27, 2012
Bushcraft and Backpacking Food – 12/15/12 Trip
I just finished posting about a trip I did this month. I’ve been getting some questions about food that I typically carry on my trips, and I figured this would be a good opportunity to go over what I brought with me. If you are interested in the topic, you can check out a similar post I did on the subject here.
The approach I take to food might seem overly scientific, and it’s true that for many trips it’s unnecessary. For your average weekend outing, especially if you will not be traveling far, the typical fare of bacon, hotdogs, and bread (bannock for those doing bushcraft) will serve just fine. However, I like to be more systematic and maximize the utility of my food. This becomes critical on longer trips, or trips that require you to cover longer distances.
Improper or inadequate nutrition is a sure way to undermine a trip into the wilderness. Like Frederick Cook said, “A person’s mental development is the result of many years of study, but his physical state is the result of his nourishment during the preceding week.”
As I have mentioned before, the amount of calories you will need per day will be different depending on what you are doing. When pulling heavy loads all day long in arctic conditions, it is not uncommon for a person to need 8,000 calories or more per day. For my trips however, I aim for about 2,000 calories per day. The reason is simply that I find it difficult to force myself to eat more than that. On a trip that lasts a few weeks the body will get used to the higher caloric intake, but at least for me, on shorter trips, there is a limit on how much I can eat. Adjust your caloric intake based on what you need for your specific trip.
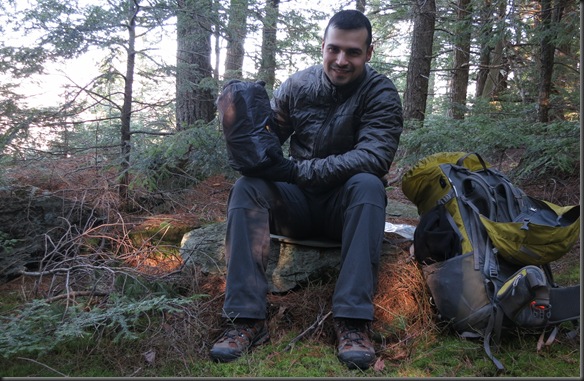
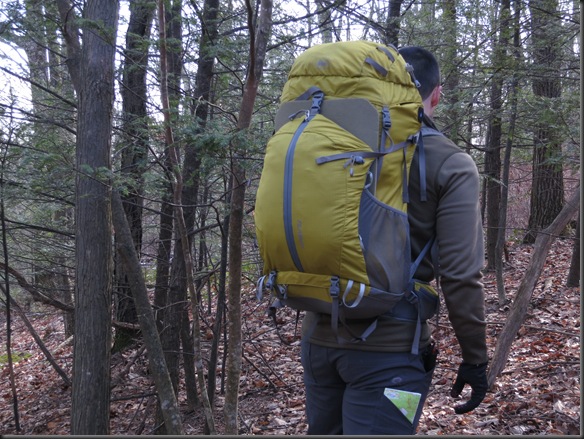
So, back to specifics, for this past trip I had five days of food, which totaled a little over five pounds. It was all contained in the bag you see me holding in the above picture. I had fairly low caloric intake per day for the trip, falling a bit below 2,000 calories per day.
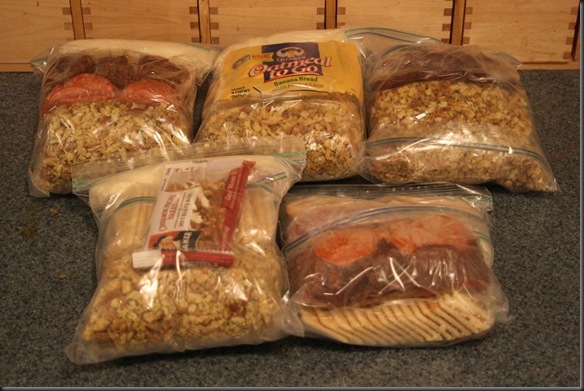
Each day’s food was contained in a separate bag. I find that to be a good way of keeping track of exactly what you are consuming, and prevents one from eating too much of a particular food before the end of the trip.
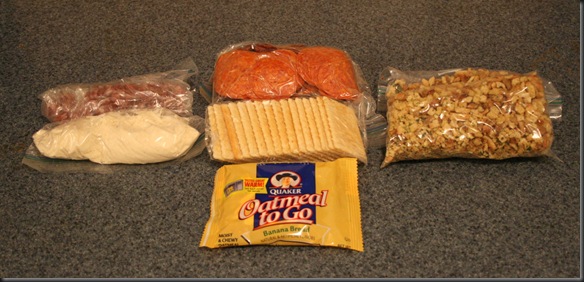
Each day’s food is in turn divided into the different meal. I tend to cook my food for breakfast and dinner. My lunch tends to be food I can eat on the go without cooking.
I prioritize calorically dense foods. That way I can minimize the weight of the food I have to bring with me. The longer the trip, the more that matters. As you can see from the picture at the top of the post, even just five days of food can fill up a sizable bag, and weigh over five pounds. That bulk and weight makes a big difference during an outing. So, here is how the caloric density of the food I brought brakes down:
| ITEM | Calories (cal) | Weights (oz) | cal/oz |
| Mashed Potatoes 1/2 cup(breakfast) | 220 | 2.1 | 104.8 |
| Salami (breakfast) | 160 | 1.3 | 123.1 |
| Crackers (Keebler Club) 16 (lunch) | 280 | 2.0 | 140.0 |
| Pepperoni 32 slices (lunch) | 297 | 2.3 | 129.1 |
| Dried Tomatoes 16 slices (lunch) | 213 | 2.1 | 101.4 |
| Oatmeal Bar (lunch) | 210 | 2.3 | 91.3 |
| Stove Top 2 cups (dinner) | 480 | 4.0 | 120.0 |
| Total | 1,860 | 16.1 | 115.5 |
As you can see, the total calories per day are a bit under 2,000, and the caloric density of the food is 115.5 cal/oz (counting the packaging). That is not bad, although it could be better. Ideally you would have caloric density of about 150 cal/oz. There are easy ways to reach that goal. The food you see above is what I call my “real” food. By that I mean it is substantial food that can comprise a meal. This can then be supplemented by other, higher caloric density foods, to allow you to reach your goal. Those foods are not what you would necessarily consider meals. For example, adding oil or butter, which has about 240 cal/oz to the Stove Top or mashed potatoes will significantly increase the caloric density. Adding other snacks like nuts, which are high in fats will also increase the caloric density.
So, this is what I had with me. Keep in mind that for sustained activity over longer periods of time you will need more food each day, probably close to 3,000 calories per day. With calorie dense foods, you would be carrying about 1.5 lb of food per day. The weight adds up fast, so try to be judicious about your choices.
Frederic Vanwalleghem | Vodun
"Vodun practitioners worship a pantheon of gods and lesser deities that inhabit objects ranging from stones to waterfalls."Here's a short video made of moving images and stills by photographer Frederic Vanwalleghem made in Ouidah (Benin)of the ancient belief system of vodun.
Despite concerted efforts of Christian missionaries, this ancient belief system still has millions of adherents along West Africa’s former Slave Coast, from Ghana to parts of Nigeria, and especially in Benin. In 1996, Benin’s democratic government officially decreed vodun a religion, and ever since, thousands have openly practiced it. It's estimated that 20 percent of the population of Benin, or about a million people, practice pure vodun.
The belief system is called vodun in Benin, vodou or voodoo in Haiti and vudu in the Dominican Republic.
Frederic Vanwalleghem is a Belgian photographer; deeply interested in African religious traditions, and especially in vodun, a topic he has researched for years. He became interested in vodun when he first traveled to Cuba and discovered santeria, the Afro-Cuban religious tradition, and was subsequently introduced its secret ceremonies in Trinidad. Later, he traveled to Nigeria and Benin, to look for the roots of diasporic traditions like santeria, condomble and vodun.
An interesting article on vodun was recently featured in The New York Times, and a full interview with Frederic Vanwalleghem was featured in The Leica Camera Blog.
Wednesday, December 26, 2012
Magdalena Solé | The Mississippi Delta
 |
| Photo © Magdalena Sole-All Rights Reserved |
The other day I found an invitation in my mail from the Leica Gallery on Broadway for The Mississippi Delta exhibition by photographer Magdalena Solé.
The invitation described the exhibition as being a photographic exploration of the Delta communities in the Deep South. Communities such as the sharecroppers, plantations, and conjuring up the sound of the Blues. The area is known for its small wealthy gentry, and the "large impoverished underclass living in dilapidated house and tilting trailers". Naturally, Ms Solé worked in Clarksdale, which has been historically significant in the history of the Blues, and is now a mecca for those photographers and other documentarians who seek to document this musical genre, and lifestyle.
Her photographs also formed the basis for her book New Delta Rising, which won a prestigious award in France. She used Leica M8 and M9 cameras for the project preferring them because they're small, and portable...while allowing her to remain virtually invisible. The photograph used in the exhibition's invitation (above) is really fabulous...the expressions of the two men (and the dog), and the juxtaposition of all the characters in the frame is just perfect.
Magdalene Sole was born in Spain and raised in Switzerland. She arrived in New York City in 1984 where she still lives.
Monday, December 24, 2012
Here is a photo from the kit lens in macro mode, hand-held and at a distance of approximately 0.3 m (or 1 foot in the old language).
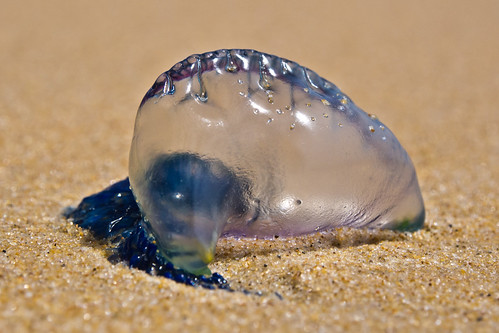
This image is larger than real life even at this modest image size. Macro mode sets the zoom to a fixed focal length of 43 mm. The fold out LCD made this close to ground shot very easy and it was still clear enough in full-sun to frame the image. Quite surprised.
Travelling with the Olympus OM-D and the 12-50mm kit lens seems like an almost perfect holiday combination and gives incredible image quality for the size and cost.
Catch A Falling Star Christmas Cake
This years Christmas Cake is perhaps one of my easiest. I used a large star shape to cut through to the marzipan layer, carefully lifted out the fondant star and filled with small silver dragees. The silver beads around the base of the cake and the rope of silver stars I used as a cake topper are Christmas tree decorations.
Why Catch A Falling Star? The silver star cake topper wouldn't stay on top of the cake whilst I was trying to arrange them and I had to keep catching the falling stars!
Happy Christmas!
Sunday, December 23, 2012
Saturday, December 22, 2012
Chocolate and Redcurrant Christmas Cupcakes
The sharpness of redcurrants and the richness from chocolate go beautifully together. I made chocolate cupcakes and added some redcurrants to the batter. After baking and cooling they were topped with my favourite cupcake chocolate fudge icing.
To make the frosted redcurrants all you have to do is whisk an egg very lightly and brush the fruit with the egg white, dip the fruit into sugar and leave to dry overnight on baking paper - frosted redcurrants are delicious.
The Travel Photographer's Own Favorites of 2012
Since I've just been smitten by Hipstamatic's newly announced Tintype SnapPak filters and its accompanying Tinto 1884 camera, I pimped these images using Alienskin Exposure software to resemble that look as best as I knew how...just to indulge this passing whimsy. The purists won't like it...but it's fun.
1. The Kathakali Performer:
 |
| Photo © Tewfic El-Sawy-All Rights Reserved |
Kathakali is one of the oldest theatre forms in the world, and originated in Kerala. Kathakali is a group production, in which actors-dancers take various roles in performances based on themes from Hindu mythology, such as the Ramayana and the Mahabharata.
 |
| Photo © Tewfic El-Sawy-All Rights Reserved |
 |
| Photo © Tewfic El-Sawy-All Rights Reserved |
 |
| Photo © Tewfic El-Sawy- All Rights Reserved |
 |
| Photo © Tewfic El-Sawy- All Rights Reserved |
Friday, December 21, 2012
Trip Report: Kaaterskill High Peak Airplane Crash Sites FAILED ATTEMPT 12/15/12 – 12/19/12 Part 3
Continued from Part 2…
I woke up in the morning to notice that there was rain pounding on my tent. It had a strange sound to it. When I looked closely I could see that the outside of my tent was covered by a layer of ice. I am not sure why it was raining instead of snowing. Clearly it was cold enough for the rain to freeze upon impact.
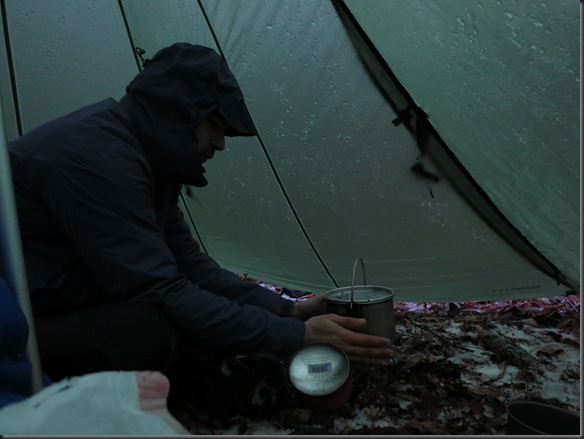
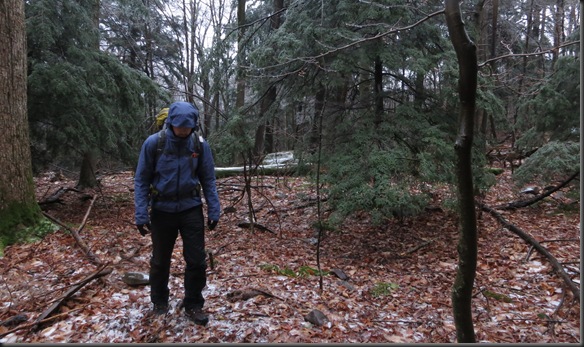
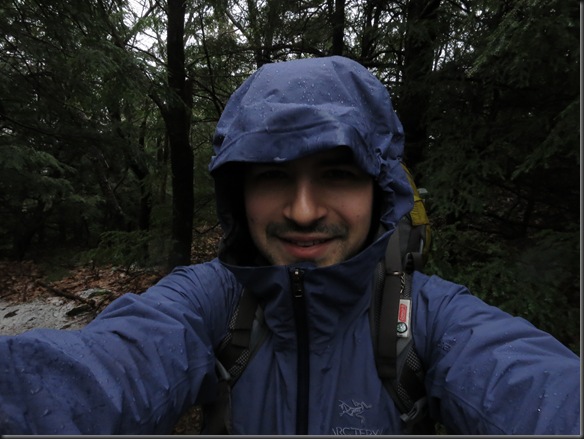
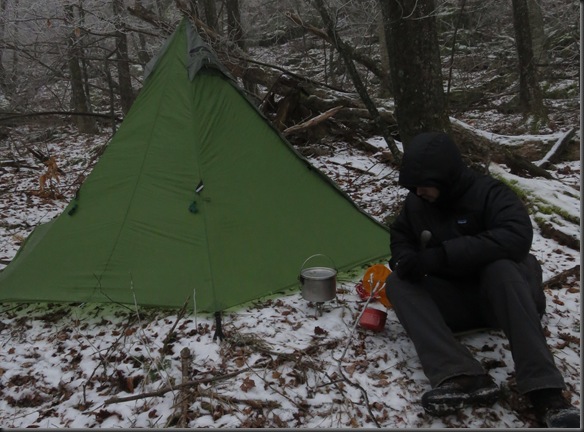
It took me some time to put on all of my rain gear while in the sleeping bag. The Western Mountaineering Antelope MF is a tight sleeping bag. I would have to put on an article of clothing, then zip up the bag again to warm it up. When the rain gear was on, I went outside the tent to get the food bag. I made breakfast inside the tent. In the picture you see me wearing my Arcteryx Beta SV rain jacket and Marmot Precip full zip rain pants.
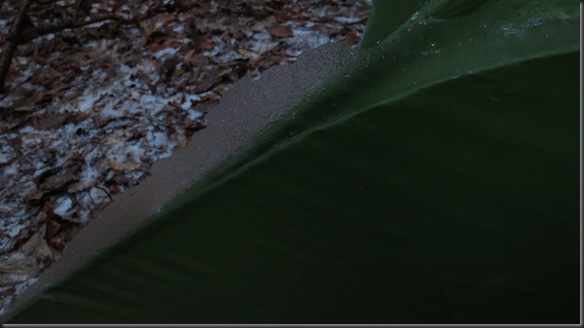
After breakfast I packed up. Here you can see the sheaths of ice on my tent when I moved one of the flaps.
After everything was packed, I started out again. The reality was that if I made good speed, I could probably get out by nightfall, but I had time, so I figured I would plan to stay another night. It was good not having to rush.
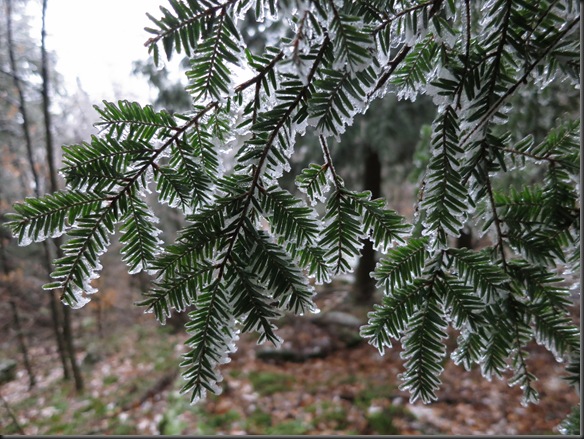
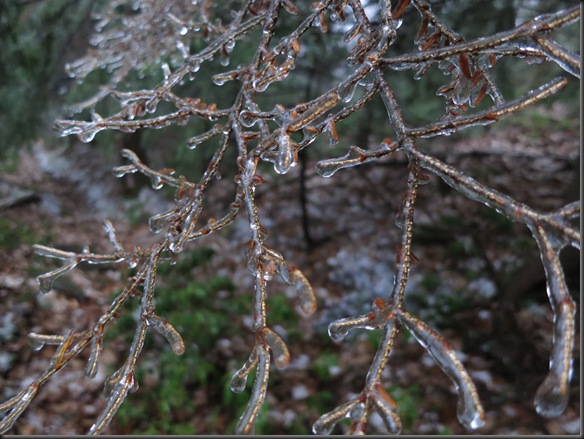
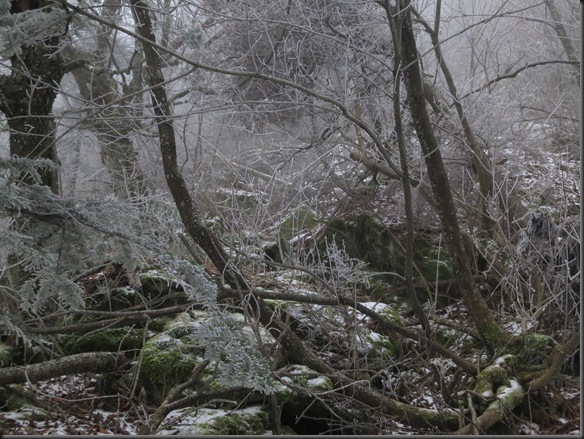
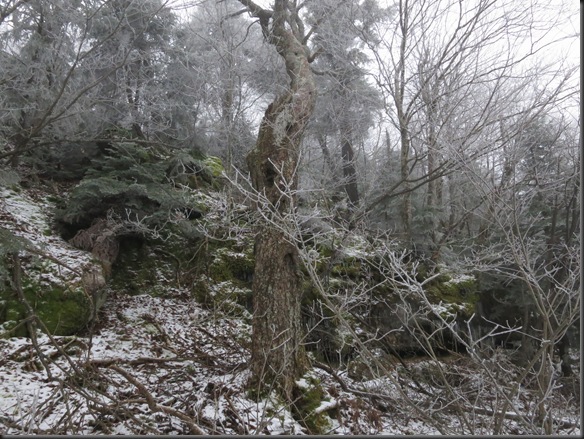
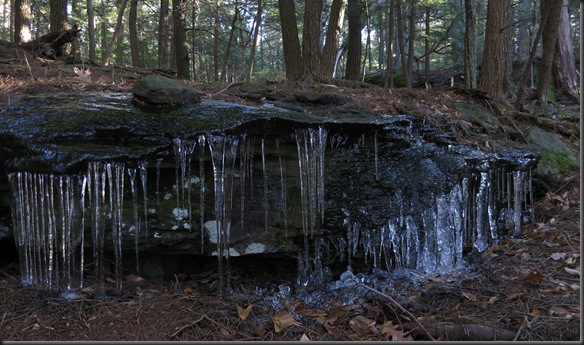
The rain was freezing upon impact, and all of the trees were sagging from the weight. It did however make for some interesting features.
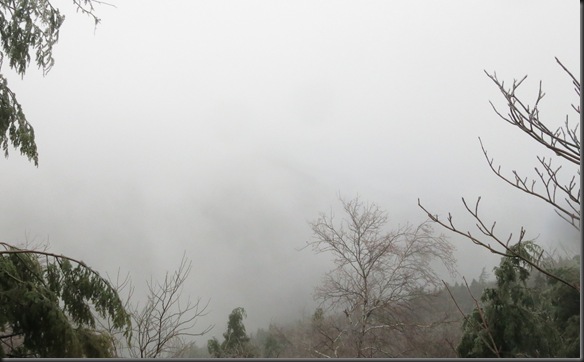
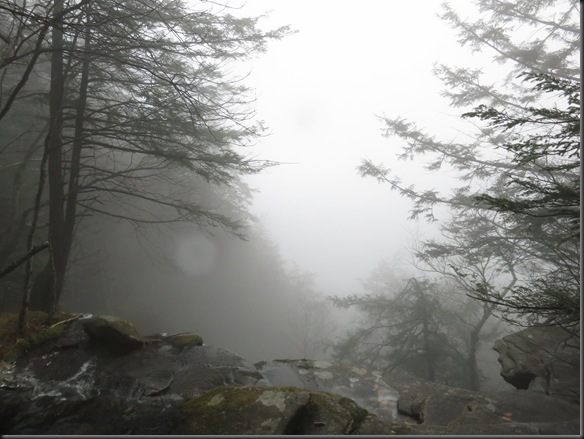
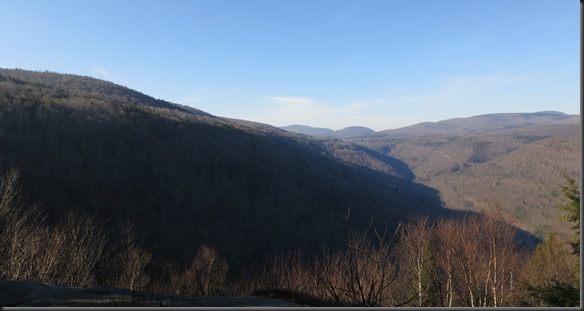
Eventually I reached one of the view points I had passed on the first day. Even though the rain had mostly stopped, the fog stuck around.
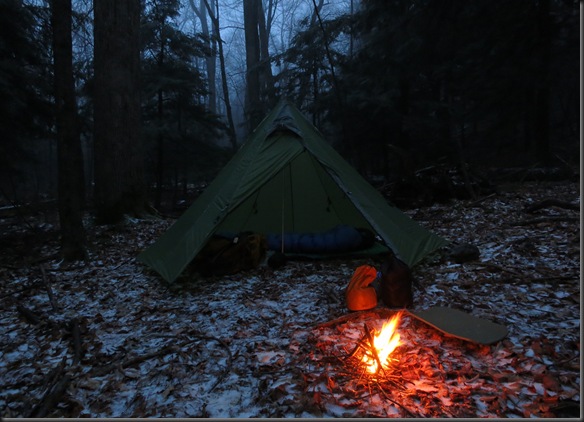
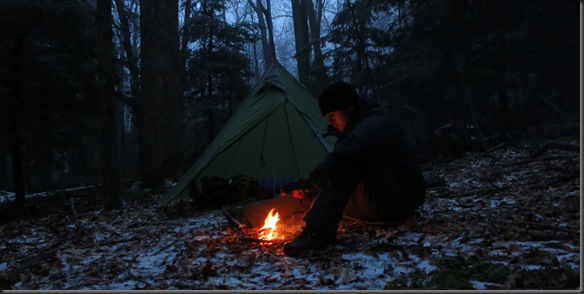
I decided to take advantage of the fact that the rain had stopped to set up camp for the evening and make fire.
I spent some time by the fire before going to sleep. The best thing about winter camping is that you get to catch up on sleep.
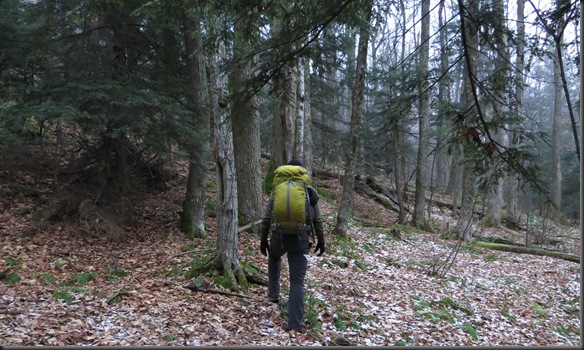
The next day the rain had started up again. It didn’t matter much because I would be out of the forest soon. I put on my rain gear, packed up, and set out.
The trail was still tricky because of all the ice, but the temperatures had warmed up a bit. Before getting out of the forest, I stopped for lunch.
Two hours later I was back at the car.
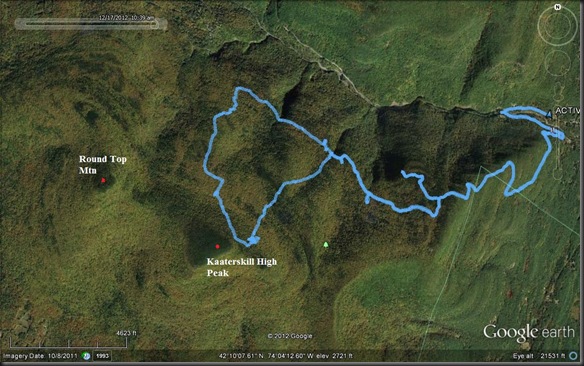
So, what can I say? The trip was a miserable failure. I didn’t reach any of the goals I had set out for myself. I had miscalculated the distance I would be able to cover, I had misread the terrain features, and I am still not sure why I failed to find the crash site. I’ll have to go back to the drawing board and give it another try once the snow melts in the spring. Here is the GPS recording, which required three sets of batteries to complete:
Aside from the navigational issues that I have to work on, there were a few gear related items that I should address. There were two things that I wish I had brought on the trip with me. The first was my gaiters. I didn’t think I would need them, but they would have gone a long way to keep the edges of my pants dry in the snow. The second item was a thermos. Earlier you saw me review a 40oz Hydro Flask thermos. Well, I actually have a 18oz one as well. I took it out of my pack at the last moment. It would have been great to have with me. I don’t use a thermos to drink from. The way I use it is to keep hot water so I can defrost the water in my other water bottles. Even if it is not frozen, the water in the water bottles can be close to freezing, and very difficult (at least for me) to drink. Pouring some hot water from the thermos in it, makes it much better.
There were also two things I didn’t need. The first was the fleece pants I mentioned earlier. I was plenty warm without them. besides, once I had taken them off, there was no chance that I was going to stop to put them back on. I’ll probably look into full zip down over-pants for colder weather. I have also been finding on recent trips that I am not using the hatchet that I usually bring along. While it is fun to have, I’m just not getting much use from it. I’ve gotten accustomed to using small fires to warm myself and cook my food. I can’t remember the last time I had to split wood. The fires you see on this trip were all made with my Mora #2 knife and Bahco Laplander saw. I’m not sure the 1.5lb weight is worth carrying. I know some people will be upset about that that, but I just haven't needed it.
The rest of the gear all worked perfectly. I have absolutely no complaints. The only change I would have made is to bring some more fuel in case I had to melt snow, but it really wasn’t something that I expected.
Well, that’s it. I hope the next trip to be less of a mess, so you can actually see me doing something other than wondering aimlessly around in the woods.
Trip Report: Kaaterskill High Peak Airplane Crash Sites FAILED ATTEMPT 12/15/12 – 12/19/12 Part 2
Continued from Part 1…
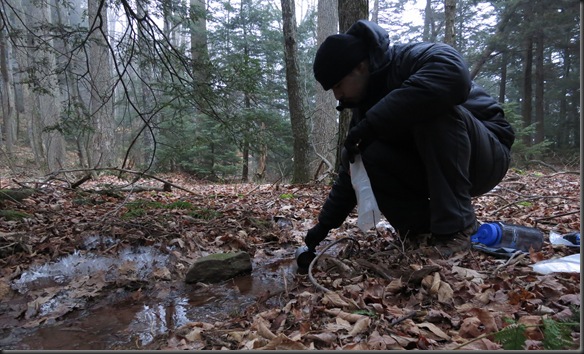
The following day I was awakened by a noise. It somewhat sounded like rain hitting my tent, but not exactly. I looked outside, and saw it was snow; very fine, hard, grains of snow, almost like ice. This was the last thing I needed. If it started snowing, the wreckage of the airplanes could easily be covered up. On top of my other problems, now I had to race against the snow to make it to the crash sites before the snow covered them up. I quickly ate breakfast, and packed everything up. After finding a place in a stream that had not frozen over, I filtered 4L of water. I had kept the filter in my sleeping bag with me during the night to keep it from freezing.
I then got going as quickly as I could.
To my great shock, after a short distance, I reached another water crossing. As upsetting as it was, it became clear that I had not even reached the last of the three streams. While I had in fact crossed three streams, at least one of them was obviously not indicated on the map. Judging by the size of this one, it had to be the third stream on the map. I was even further behind than I had thought. Yet another navigational blunder.
Heavy fog had set in, but even so, this last stream offered a great view.
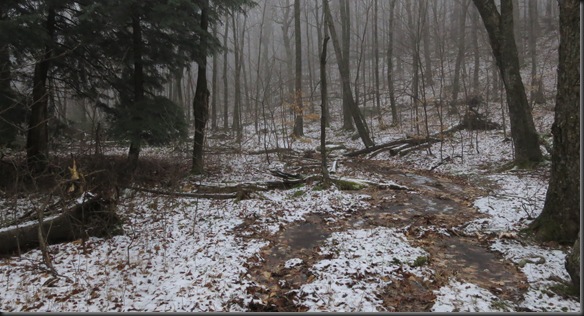
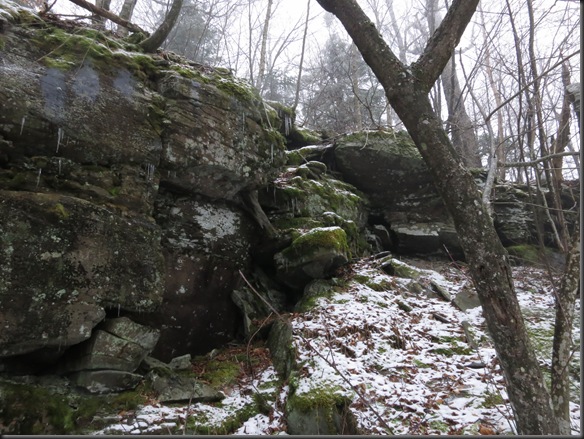
I continued forward. The trail was now non existent. What was left of it was either a frozen stream, or was covered by snow.
A few hours later I reached the elevation around the 2900ft mark where I had planned on abandoning the trail and starting to bushwhack. I took a bearing to the first crash site, and set out.
Now this is the tricky part when navigating in this manner. The map and compass can give you a bearing quite easily, but it’s much more difficult to get a precise location. The approach here is to travel on the bearing until you hit the object for which you are searching, i.e. the crash site. I kept walking however, without encountering any wreckage. On a few instances I encountered cliffs, which forced me to move higher up in elevation. I began to worry that I would bypass the crash site. I had been following the terrain features from more detailed maps I had printed out, and it seemed to me like I had reached the area where I though the airplane would be.
At this point I had another difficult decision to make. Clearly I had not found the crash site, but I thought I had reached the area where I expected it to be. I could either continue to search for the crash site, or I could abandon the search and instead summit High Peak. It had taken me the better part of the day to get to this location. If I pushed up the mountain, I may be able to make it back by the two day mark (when I would be out of water), but if I continued to search, I would not have enough water to climb the mountain and then make it back to the water source. I could start melting snow on the mountain for water, but there wasn’t enough accumulation at this point. Besides, I had not brought enough fuel for melting water; I would have to use a fire, a time consuming prospect. I would do it as an emergency measure, but it wasn’t something I wanted to rely on.
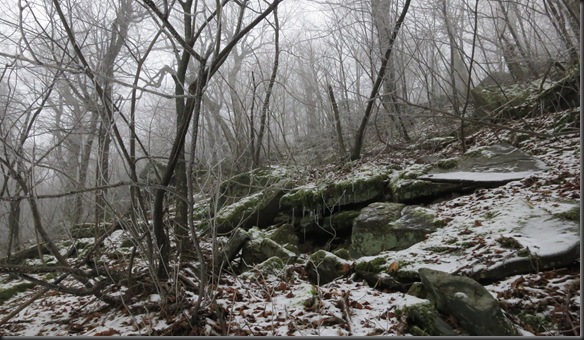
I decided to keep searching for the crash site. I was just so close. I spend the rest of the afternoon searching, but with no luck. I took a final picture of the area where I thought the crash site could be, and gave up.
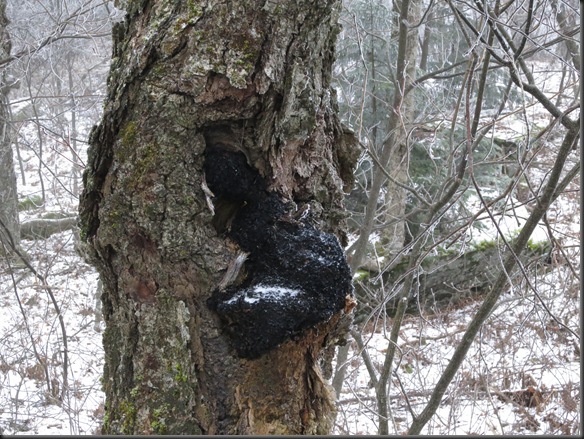
I did however find something for you chaga lovers out there.
I wasn’t sure exactly why I had failed. There were three options. The first and most likely one was that I had committed a navigational error. Considering my errors the past day, it was very likely that I had incorrectly estimated my current location. Looking at the GPS map when I got back however, it looks like I was in the exact location where I had intended to be (honestly quite surprisingly). That leaves the other two options. Either my research was wrong, or the combination of fog and snow prevented me from spotting the wreckage.
Either way, I set up camp for the evening. Up in the mountain the temperatures were now lower, falling close to 15F (-10C). The next day I would have to start back down the mountain. I didn’t have enough water to to spend the next two days doing up the mountain and then coming back down to a water source. To be honest, had I found the crash site, I would have, probably unwisely, pushed up the mountain, but psychologically I just wasn’t ready. I was too unsure about my location and my ability to reach my destination quickly enough.
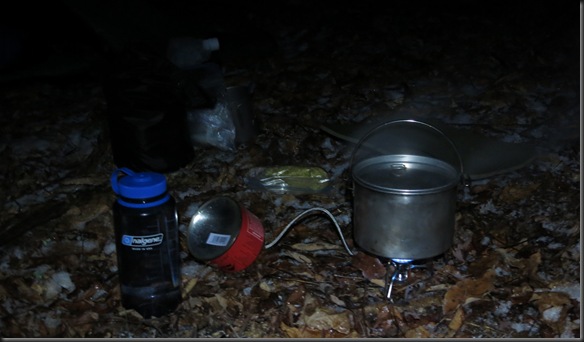
I was plenty comfortable in my Western Mountaineering Antelope MF sleeping bag during the night. There was a good deal of condensation, but the sleeping bag held up fine despite the moisture accumulation. Similarly, my Kovea Spider stove was functioning well. These are low temperatures for a canister stove, but this design was working well
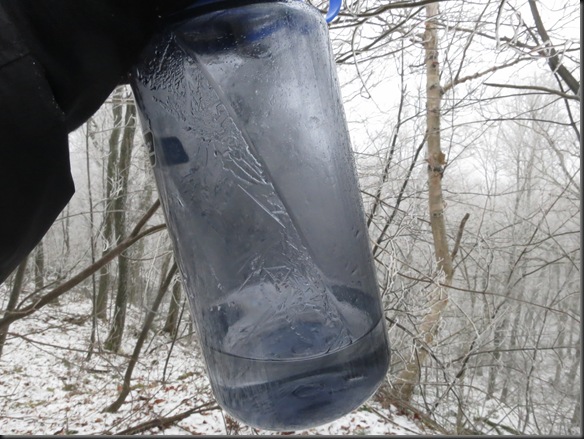
In the morning the temperature was not much higher. Here is what my water bottle looked like after I put it on the ground while making breakfast. I had kept it in the sleeping bag during the night to keep it from freezing, along with the filter and my camera, which now had only one functioning battery remaining. .
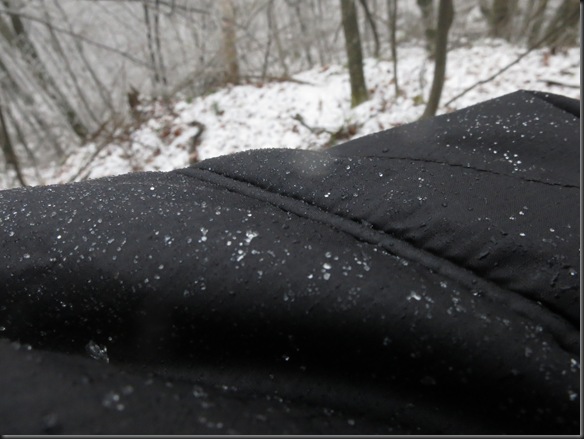
Now, here is an issue that I have spoken about before. In cold temperatures, breathability of materials becomes less and less relevant. The reason is that the moisture generated by your body encounters the cold air from the outside and freezes before it can exit your clothing. The colder the temperature, the deeper inside your insulation it will freeze. What you see on the jacket here is not snow, but rather the frozen vapor/sweat from my body that passed from my base layer to the top of the insulation while I was cooking. It is actually imbedded in the material and is hard to remove. Had the temperature been colder, the moisture would have frozen even further in.
Anyway, I packed up and started moving. I decided not to follow the trail back, but rather to bushwhack directly down the mountain. The trail was in such a poor condition that I figured it wouldn’t matter. It also wasn’t very difficult navigationally. I would just keep bushwhacking north until I reached the trail near the streams I had passed the previous day.
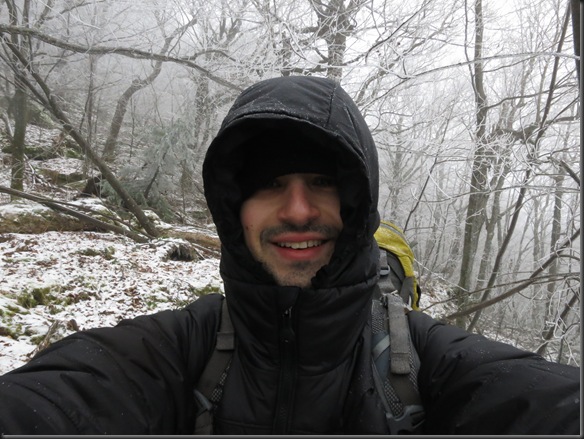
It was still very cold, so I set out while wearing the Patagonia DAS parka. I expected to take it off rather quickly, but I ended up getting a good distance down the mountain before I got warm enough to do so. I also had put the compass under my clothing, close to my body as it had developed a sizable air bubble due to the low temperature. When it warmed up the bubble went away.
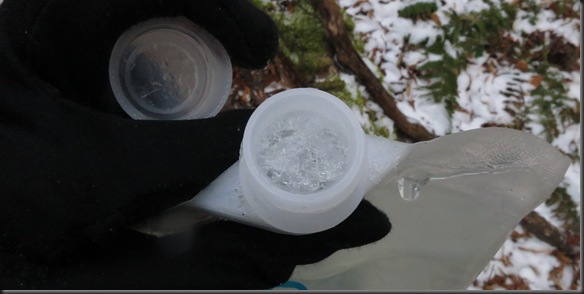
And here is why you don’t use narrow mouth water bottles in winter. This is what the water bladder looked like when I checked it after about two hours of hiking down the mountain. I managed to pop out the ice, but you can’t count on being that lucky every time.
I quickly figured out why the trail was where it was. This whole area appeared to be covered by cliffs. While from the map it looks like steep, but fairly gradual terrain, the actual elevation changes were nothing like it. The ground would be level for some distance, and then end at a cliff. Going down the cliffs became very time consuming especially because of the icing. This is a common error/false assumption to be made when reading a map, and I certainly made it on this trip.
The weather started warming up at the lower elevations, but it was still cold. Even after removing my Patagonia DAS parka, I kept the REI Revelcloud on over my fleece until I made it down the mountain.
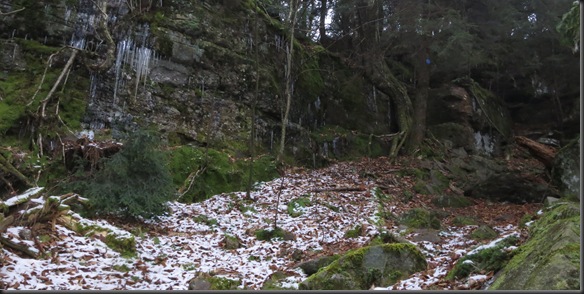
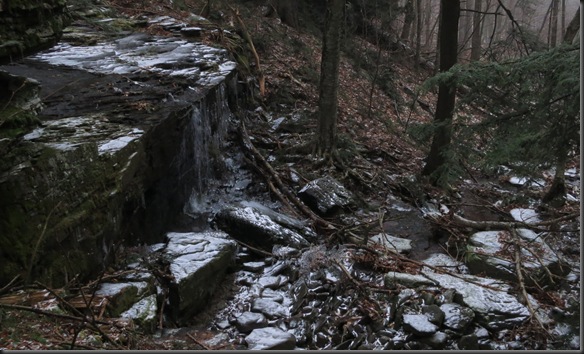
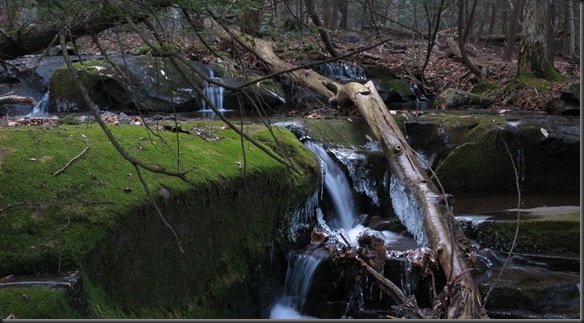
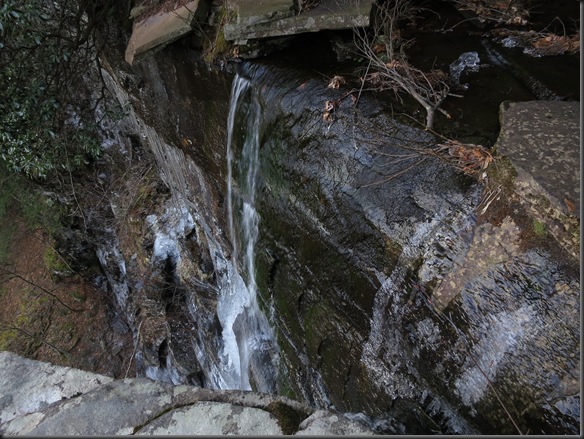
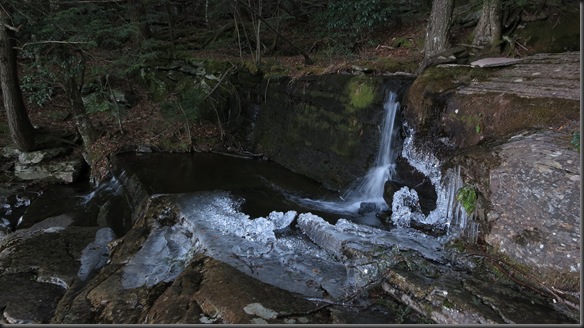
The upside of all the cliffs was that they created some nice waterfalls.
Now, had I gone to the Bear Grylls Survival Academy, I would have probably climbed down the face of the waterfall, but since I hadn’t I had to go around and find an easier way down…which I did.
I reached the trail at some point in the afternoon and started following it. It was apparently later than I thought, because it got dark on me before I realized it. I set up the tent and made dinner in the dark.
I was now back at about 2000ft in elevation, so it was relatively warmer. The temperatures were back up to around 32F (0C). By the time I was done eating, it was close to 5:30pm and pitch black. I got in my sleeping bag for another 13 hours of uninterrupted sleep… expect for the excitement of having to aim in the middle of the night into a pee bottle.
Continued on Part 3…
Trip Report: Kaaterskill High Peak Airplane Crash Sites FAILED ATTEMPT 12/15/12 – 12/19/12 Part 1
Well, those of you who have been following my posts know that lately on some of my trips I have been going out in search of airplane crash sites in the woods. The reason for that is not that I have any specific interest in airplanes, but rather that I find it a good test of skills, both navigational and of general woodsmanship. The airplanes crashed without regard for terrain, available resources and ease of access. Taking the crash sites as they are forces you to encounter nature on her terms, and allows you to practice skills in a situation where they actually matter.
So far I have taken you along a few successful trips. Unfortunately, my last one was a complete and total failure. I figured I would share it with you as well so you can see my mistakes.
Usually every year I get a few vacation days left over before the year ends, and I like to take them to go on a slightly longer trip. I prefer winter trips because they offer a bigger challenge. If I am going to spend all of my vacation days, I want to get the biggest use of them. I like to pull out the snowshoes and crampons and go stomp around in the snow.
Unfortunately, this year we got hit with a heat wave here in the northeast. All of the snow melted, and we had been having unseasonably warm weather for the past few weeks. So, I had to put away my crampons and snowshoes for this trip and plan out a less winter oriented trip. I settled on doing a trip I had planned out for next year – the search for the Kaaterskill High Peak airplane crash sites. I was planning on doing the trip next year in better weather because when searching for airplanes, I want to avoid snow cover. It doesn’t make much sense to search for something that is buried in snow. However, since all the snow had melted this year, and the weather was warm, I decided to try to squeeze this trip in before the snow came again.
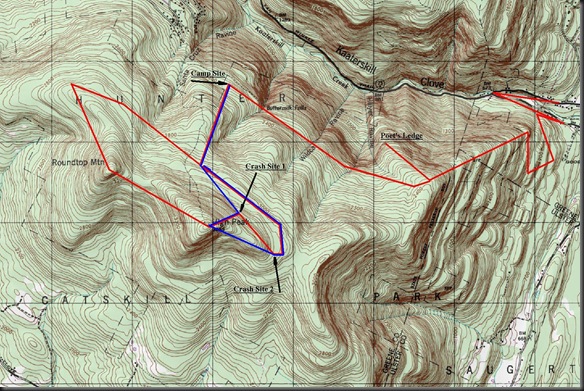
I gave myself five days to complete the trip. Here was the plan:
I would start out at about 500ft in elevation. I would then climb up the mountain using the existing trails to about 2000ft in elevation. There I would take a small detour to Poet’s Ledge (a nice view point). Then I would continue following the trail on that elevation. At one point the trail will turn south towards the mountain. I would follow it to about 2900ft. At that point I would start out in a westerly direction until I reached the bottom of Round Top Mountain. From there I would use the ridge to bushwhack up Round Top Mountain. Then I would follow the ridge to Kaaterskill High Peak Mountain at 3655ft. From there I would descend on the first crash site. Once I find it, I would take a bearing and go to the second crash site. From there I would descend to the trail again and follow it back down the mountain.
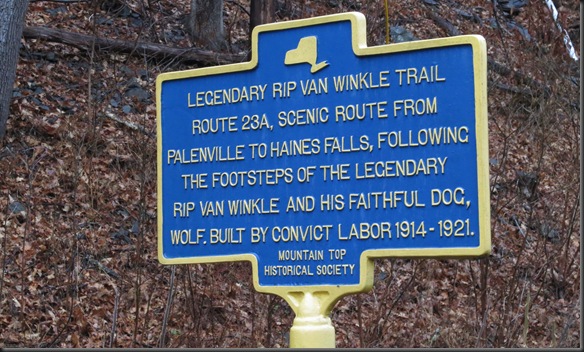
So I packed my winter gear (for this region) along with five days of food and set out. Now, I write this part in case anyone wishes to take the same route. I hope this makes it a bit easier. I started at the parking area on Route 23A. From there the map shows that you follow along Route 23A until you reach a bridge that connects you to Malden Ave, which you then follow to the trail itself. Here is an interesting sign about this area:
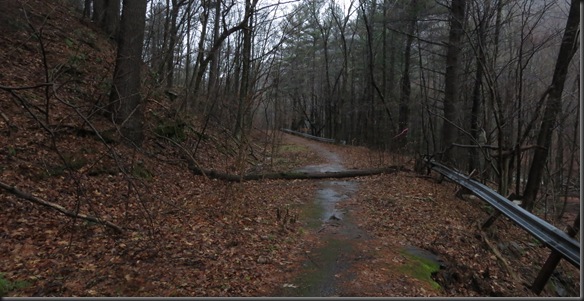
I followed Route 23A to the bridge. To my surprise however, there was no Malden Ave intersection at this point. There was just a dead end. I asked a parked police officer about it, but she didn’t know about any Malden Ave in this area. After some looking around I decided to go through the closed off area along the river. The streets might not make any sense, but the river was still the river. After a few minutes of walking, I figured out what had happened. I was in fact on Malden Ave, just an abandoned section of the street that had been closed off. Through the leafs, you could see remnants of the road.
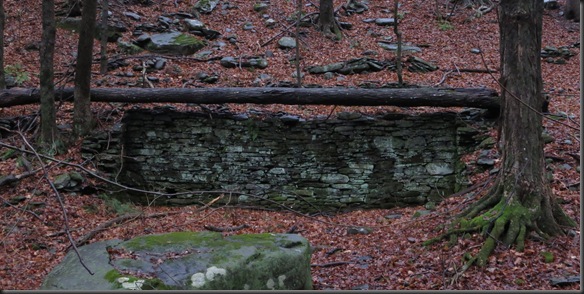
Along the street there were some remnants of what looked like the foundations of old buildings. I’m not sure about what happened to the area or why this section of the street was closed off and abandoned, but I was glad to be going in the right direction.
After a while the closed off section ended, and the proper street began. Soon after I reached the actual trail and started up the mountain.
The going was slow. The elevation change was rapid, and there was a lot of ice everywhere. The temperature was slightly below 32F (0C), which froze all of the water that had accumulated from the molten snow.
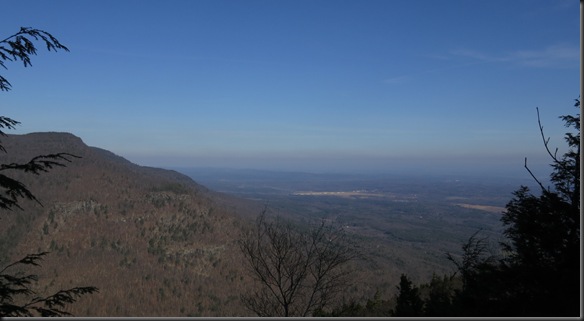
After a few hours of climbing, I reached a good view point. These are rare to see in these areas where everything is covered by trees, even on the top of the mountains.
I was now near 2000ft in elevation. I reached the planned detour to Poet’s Ledge, and I followed it. On the way there I encountered an interesting moss. It made the whole area appear pink.
I eventually reached Poet’s Ledge. The sun was making photography difficult, and besides, I think the name wrote a check that the view could not cash.
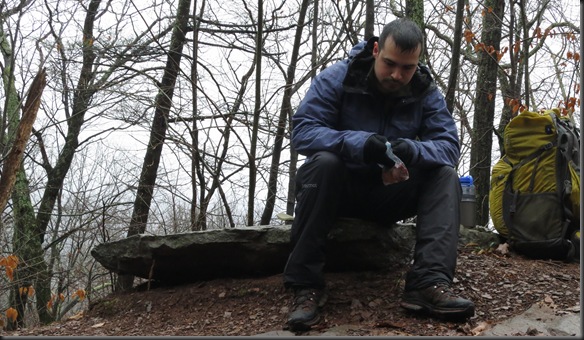
I ate lunch there. In case you were wondering, this is what five days of food looks like, even though I was on the low end in terms of calories. It was about five pounds in total. I’ll do a separate post on the food a bit later.
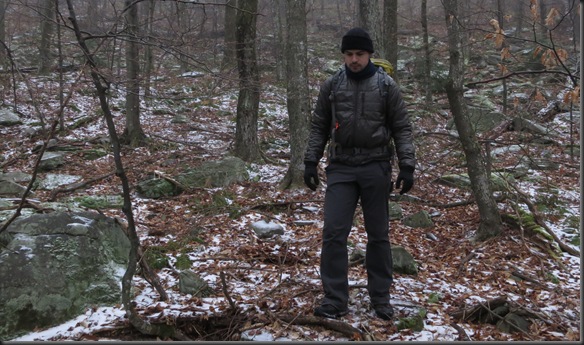
What you see me wearing in the picture is the REI Revelcloud jacket. I brought it instead on my 200 Polartech fleece shirt. They are similar in warmth, but the Revelcloud, a Primaloft One fill jacket packs much smaller. It makes for a good second layer. I like my fleece more, but this is much easier to pack, which is what I needed for this trip. Also, strapped to my pack is a pair of 100 Polartech fleece pants. I started out wearing them under my pants, but they were just too warm. They ended up staying on the outside of my pack for the rest of the trip.
At this point I encountered my first problem, I was behind on my schedule. I expected to be past Poet’s ledge by noon, but it was now 2:00pm. With the sun going down around 4:30pm, I didn’t have much time to make the progress I needed. When I started walking again, I encountered a second problem, mainly that the trail crews had not made it out much past Poet’s Ledge. The hurricane had wiped out the trail. Parts were blocked by large fallen over trees, and the rest was turned into a frozen stream. From this point forward most of my time was spent off trail, which did not help the first problem, time.
Judging by the map, I was supposed to cross three streams one after the other. My initial hope when planning the trip was to be way past these streams and ready to begin bushwhacking by the end of the first day. It quickly became clear that I would be lucky to make it past the three streams. So, I counted. Around 3:30pm, I reached the third stream.
The streams and the resulting waterfalls made for some interesting views.
Now I had some decisions to make. For starters, I was way behind in terms of the distances I had to cover each day. It became obvious that I would not be able to keep to the original plan. I would have to figure out an alternative approach in the evening. A more pressing concern was whether or not to keep going. It was 3:30pm. I could keep moving for at least another half hour before setting up camp. That would give me some distance that I desperately needed. However, this was the last marked water source on the map. Once I started climbing, I would have no water until I came back to this location. I had a 4L water capacity with me. If I was careful, I could make it on about 2L of water per day, which Ideally would let me go up High Peak and come back. However, if I passed up the water source and kept going, I would have to hit another water source to fill up before setting out again in the morning. If I didn’t, I would have to come back to the stream.
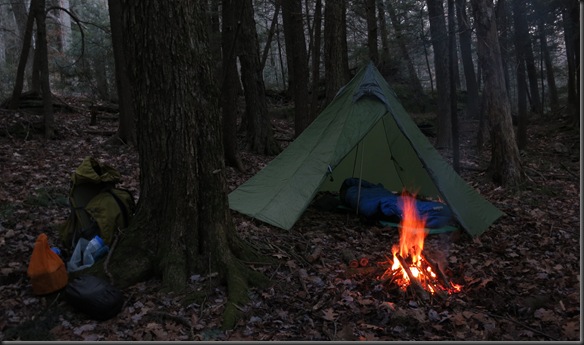
I decided to risk it and pushed forward. Luckily, there was enough frozen water all around me, which allowed me to stop where I wanted, shortly after 4:00pm. I quickly set up camp and got a small fire going. For this trip I was using one of my winter sleeping bags, the Western Mountaineering Antelope MF. It is rated to 0F (-18C). I have been very happy with this bag, and this trip was no exception.
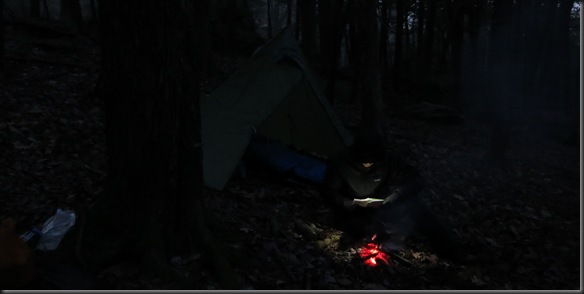
After eating the evening was spent by the fire with a headlamp and a map, trying to plan out a different route. In the picture you see me wearing my Patagonia DAS parka. The temperature now was below 25F (-4C), and the extra warmth was appreciated.
After some thinking, here is what I decided:
The new approach was marked by the blue line. I would follow the trail up to the point where I was originally to go west to set up my approach on Round Top Mountain. From that location I would bushwhack to the first crash site. Then I would climb High Peak Mountain, after which I would descend on to the second crash site, and then catch the trail back at the base of the mountain. The tricky part was going to be the water. I would have only enough water for two days. At the speed I had been going so far, the plan would be doable, but only just.
I had clearly made my first navigational error. I had seriously overestimated the speed with which I could travel over this terrain. I am not sure if it was the added weight of the extra food, the steep increase in elevation, or the poor trail, but I had fallen way behind. More significantly, my time to complete the climb would be limited. Projecting from the speed I had been doing on the first day, I would be hard pressed to complete the ascent on just two days.
Continued on Part 2…

